MICROSTAR + SYSTEM MANUAL • page 5 of 21
Simplex, Inc., 270 Riverside Parkway Suite G Austell, GA 30168 • 678-214-6575 • Fax 678-214-6670
Printed in the USA. • www.simplexdirect.com
PRIMARY INSPECTION
Preventative visual inspections of the shipping crate and Microstar + is advised. Physical or electrical
problems due to handling and vibration may occur. Never apply power to a Microstar + before performing
this procedure. The following Nine Point/30 minute inspection is recommended before installation, as part of
other 50hour/6month maintenance schedule and whenever the Microstar + is relocated:
1. If the crate shows any signs of damage examine the Microstar + in the corresponding areas for
signs of initial problems.
2. Check the entire outside of the cabinet for any visual damage which could cause internal electrical
or mechanical problems due to reduced clearance.
3. Inspect all cam locks for smooth and safe operation.
4. Flip all switched to ensure smooth operation.
5. Check cooling system by inspecting the fan. Check fan blades and fan shroud for stress fractures.
6. Inspect all relays, timers, and control module by opening removing the cover. Make sure all
components are secure in their bases and safety bails are in place. Spot check electrical
connections for tightness. If any loose connections are found inspect and tighten all remaining
connections.
7. Examine all accessible internal electrical components such as fuses, contactors and transformers.
Check lugged wires at the components.
8. Inspect bottom of crate/enclosure for any components that may have been jarred loose during
shipment such as indicator light lenses, switches, etc.
9. Visually inspect element chamber for foreign objects, broken ceramic insulators, and mechanical
damage.
If any problems are observed during Primary Inspection call the Simplex Service Manager at 217-
483-1600 (24hrs.)
INSTALLATION
The Microstar + is to be installed into a 19 inch server rack, EIA-310D. This is achieved by lining the
pushpins with the corresponding holes in the rack, then use turn the cam lock keys to press lock the load
bank into position. The load elements in the Microstar + are cooled by a forced air system which takes air in
the front and discharges through the rear of the device. The Microstar + must be installed with appropriate
clearances on the intake and exhaust sides of the panels.
• There must be a minimum clearance of 2 feet on the inlet and outlet of the Microstar +
• Never point the exhaust at a nearby surface or object which may be adversely affected by high
temperature.
• Consider that multiple Microstar + units and other equipment in the area will create excessive
temperature spikes if equally spaced.
• It is important to properly balance the phase legs used to power multiple load banks. Always have
the Microstar + installed by trained personnel ONLY.
Failure to properly install the Microstar + may result in substantial damage to or the destruction of
the Microstar + and adjacent equipment.
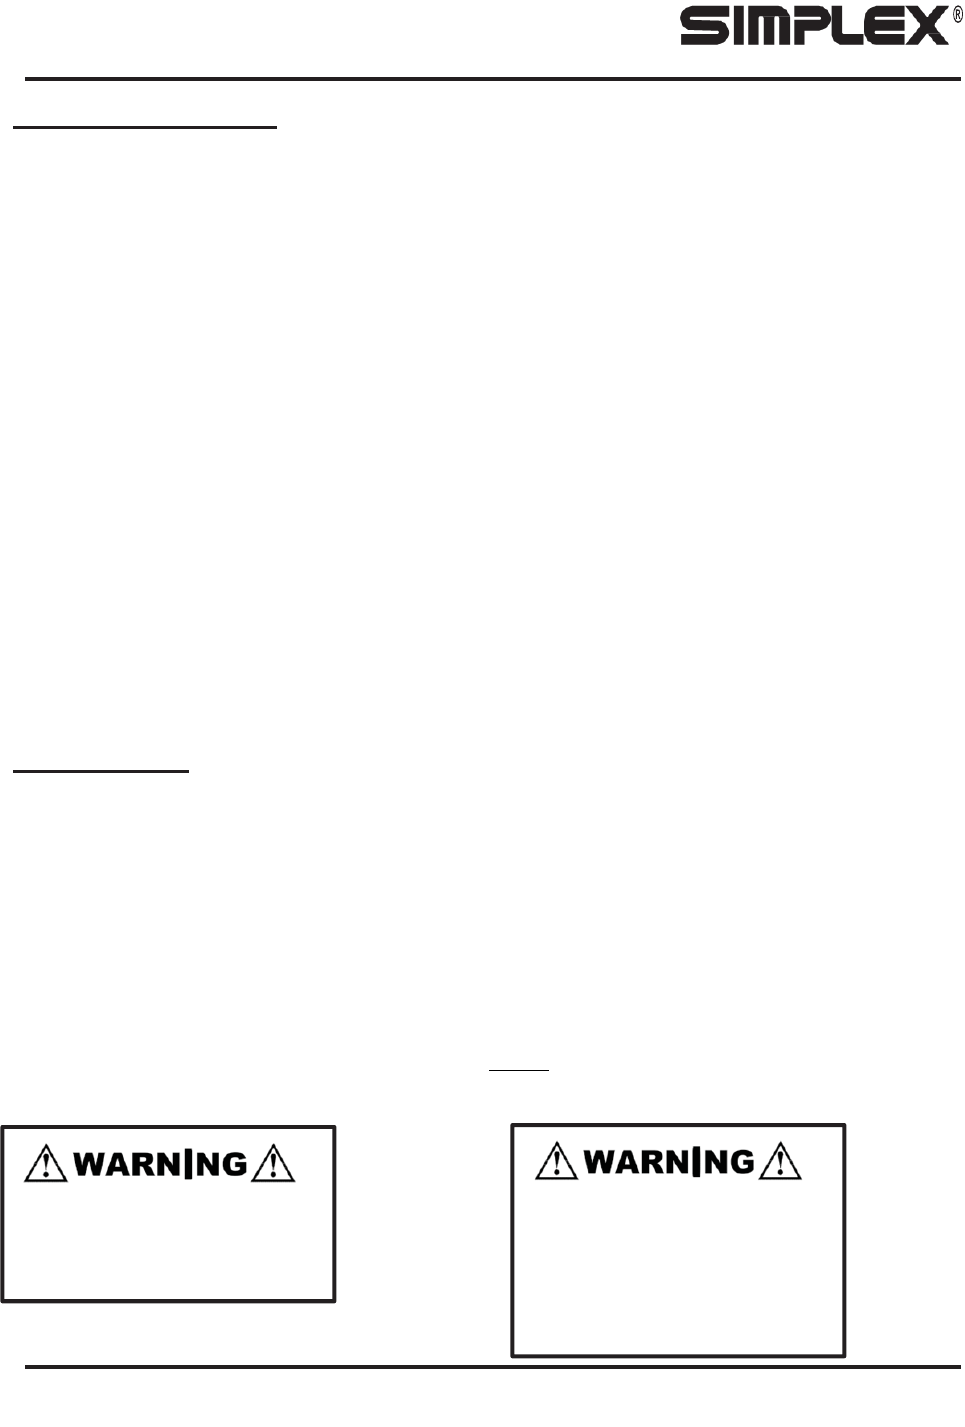
Do Not allow the Microstar +
to
operate
unattended
for
an
extended period of time
Always remove all power from
the load bus and all fan/control
power before servicing the Load
Bank. Never operate or service
a
Load
Bank that
is
not
properly
connected to an earthground.

 (1 paginas)
 Manymanuals.com
 Manymanuals.de
 Manymanuals.fr
 Manymanuals.it
 Manymanuals.pl
 Manymanuals.cz
 Manymanuals.es
 Manymanuals-pt.com
Comentarios a estos manuales